
How to Contour Your Face – Best Way
In just 5 minutes, with the help of a few products and some blending magic, you can make your cheekbones look higher, sharpen and enhance your jawline, and slim down your nose. And you can do all this without surgery or filters. I will tell you in a very simple way how to contour your face. And by learning how to contour your face, you can beautifully enhance your facial features. I won’t keep a beauty lover like you waiting any longer. I’m explaining step by step how you can contour beautifully according to your facial features. Come with me.
What is Contour?
Contour in makeup is a technique that uses light and shadow on your face, through which you can improve and define your facial structure. With contouring, you can shape your jawline, cheeks, nose, and forehead using light and shadow in such a way that the face looks sharper. The areas of the face you want to appear recessed—such as under the cheeks, sides of the nose, and under the jaw—can be done through this contouring method in face makeup. Additionally, the areas you want to appear lifted—like the cheekbones, the bridge of the nose, the forehead, and the chin—can also be easily created.
But is contouring for everyone?
Yes, though it may vary depending on your face shape and makeup style. If you want a look for daily wear, you can do a soft contour. And during events or while taking photos, you can go for a dramatic contour.
Prepare the skin before contouring.
1. Cleansing the skin
Before applying contour makeup, it is important to clean your skin. This will help your contour makeup apply better. So wash your face with a face wash to ensure there is no dirt or oil on the skin.
2. Using moisturizer
If your skin is dry, contour makeup may appear patchy on your skin. So, you should use a light moisturizer according to your skin type. This will help you apply contour makeup properly.
3. Using primer
You probably know that using primer makes makeup last longer. So apply primer before contouring. As a result, your foundation and contour will sit better and your skin will become smooth and even.
4. Applying foundation
Contouring after applying foundation makes it easier to blend the colors. So apply a light foundation that matches your skin tone. This will create a smooth base for your contour.
5. Choose contouring products
To properly draw the contour of your face, you will need these products:
- Contour product – powder, cream, or stick in cool or neutral tones.
- Highlight product – concealer, powder, or illuminating cream.
- Blending tools – makeup sponge, angled brush, or contour brush.
- Setting powder or spray – to keep everything in place.
How to Effectively Contour Your Face?
Although contouring is easy, contouring is not one-size-fits-all for everyone’s face. Each person’s face shape is different. So I will tell you through a few steps how to shape your face. Even if you don’t know your face shape, don’t worry. I will tell you how to understand what your face shape is, after explaining how to contour. And I want to assure you with a promise that the information about contouring I give you will bring a major change to your makeup.
Step 1: Prepare your makeup base.
To prepare your face for contouring, use Power Grip Primer. This formula will create a smooth surface for makeup on your face. It will also reduce excess shine on various areas of the skin and extend the durability of your makeup for up to 24 hours. If you do not want to underpaint, then considering the combination of your concealer and foundation, you can apply foundation afterward.
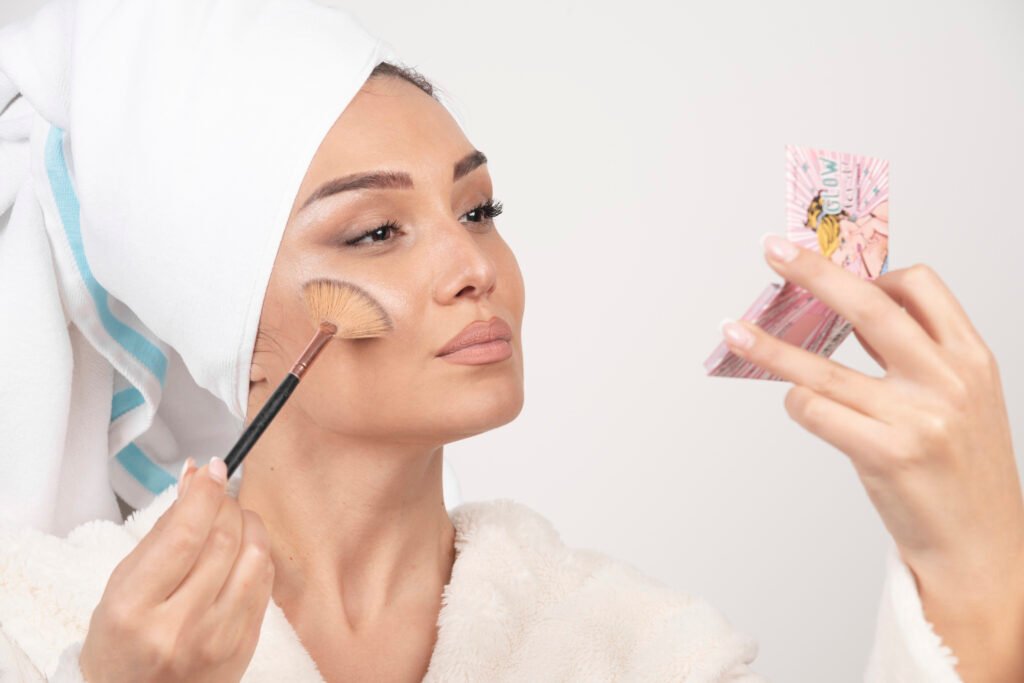
Step 2: Contour your face.
Now, you are fully ready to contour. Apply a light shade of highlighter or concealer to the areas of your face you want to highlight. Typically, everyone uses it under the eyes, in the middle of the nose, and on the top of the cheekbones.
Apply a small amount of concealer to the center of your forehead, chin, and any areas you want to brighten and add dimension. Once you’ve applied your concealer, use a stippling brush lightly to blend it and soften any harsh edges. And don’t forget to blend it in the areas you want to highlight. Remember to use light makeup around your face, otherwise, you won’t easily achieve the type of sculpting you want.
If you want to define an area, you should apply a darker concealer to that area. For your convenience, specific contouring areas include your nose, cheekbones, jawline, and temples. If you want fuller lips, you can contour the lower lip as well. This way, depending on your face shape, you can contour other parts of your face as well. And yes, don’t forget to apply a dark concealer in the middle of your lower lip. For your convenience, you can apply the contour product in small lines, then blend it with a brush or makeup sponge.
Once you understand how to contour correctly based on your face shape after reading my contour guide above, you will become more confident in personalizing it according to your own face shape. Below is a beautiful explanation of how to contour for different face shapes. It will surely be helpful for you.
Round Face:
Signs: Full cheeks, width and length are nearly equal.
Goal: Make the face look longer and slimmer.
Contouring Technique:
Along the temples: Apply light contour to the sides of the forehead to make the face appear slimmer.
Under the cheekbones: Shade to make your cheeks appear sunken. This helps reduce fullness.
Along the jawline: Contour along the lower jawline to bring out the shape of your face.
Oval Face:
Signs: Slightly wide forehead, narrow cheeks, and a softly ending chin.
Goal: Maintain natural balance.
Contouring Technique:
Side of the forehead: Apply light contour so the face looks more symmetrical.
Under the cheeks: Lightly shade to highlight the 2 sides of your cheekbones.
Along the jawline: You can apply a little contour to add sharpness.
Square Face:
Signs: Forehead, cheeks, and jaw have almost equal width, and the jaw is sharp.
Goal: Soften the angular features of the face.
Contouring Technique:
Corners of the forehead: Soften with contour.
Under the cheeks: Create shadow for the fuller part to balance under your cheeks.
Jawline: Lightly shade the corners so they don’t look too sharp.
Heart-Shaped Face:
Signs: Wide forehead and narrow chin.
Goal: Reduce the width of the forehead and balance the chin area.
Contouring Technique:
Along the temples: Helps reduce the width of the forehead.
Under the cheeks: Define the cheeks with light contour.
Under the jaw: Lightly contour so the chin looks balanced.
Rectangular Face:
Signs: Long face, comparatively narrow jaw and forehead.
Goal: Reduce the length of the face and bring balance.
Contouring Technique:
Forehead and temples: Contouring helps the face appear shorter.
Under the cheekbones: Light contour adds depth to the face.
Diamond-Shaped Face:
Signs: Wide cheekbones, but narrow forehead and chin.
Goal: Reduce the width of the cheeks and balance the forehead and chin.
Contouring Technique:
Along the temples: Helps make the forehead appear balanced.
Under the cheekbones: Contour to reduce width.
Along the jawline: Light shading to balance the lower part.
Step 3: Set your makeup on your face.
After all the effort of sculpting and defining your face, it’s important to ensure your contour lasts all day. Otherwise, all your effort will go to waste. So use a setting spray product to bring a fresh look to your appearance for the long-lasting beauty of your makeup.
I have selected some of the best waterproof mascaras for you after testing 27 mascaras.
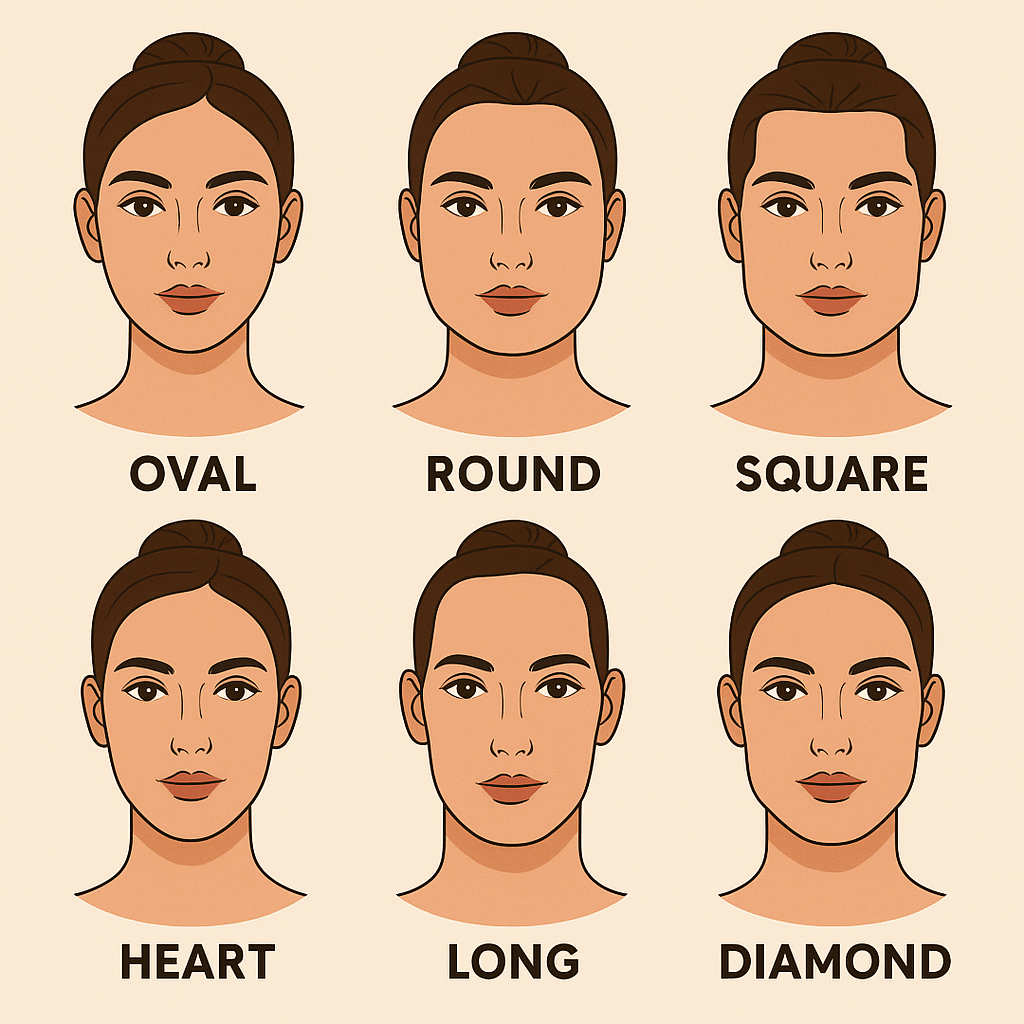
How to Recognize Your Face Shape?
1. Stand in front of a mirror
Tie your hair back or wear a headband so your entire face is clearly visible.
2. Observe the parts of your face:
Forehead: Is it wide or narrow?
Cheeks/Cheekbones: Which part is the widest?
Jaw: Is it round, sharp, or angled?
3. Match with the descriptions below:
- Oval – Forehead slightly wide, jaw narrow, face elongated
- Round – Forehead, cheeks, and jaw are almost the same width; face is relatively short
- Square – Forehead, cheeks, and jaw are nearly the same; jaw is very angled
- Heart – Forehead is wide, cheeks medium, jaw narrow; chin is slightly pointy
- Long/Rectangular – Face is quite long, cheeks narrow, forehead and jaw are similar
- Diamond – Cheekbones are the widest; forehead and jaw are comparatively narrow
An easier way is to take a selfie or sketch your face and draw a line around it to easily determine your shape.